Announcement

Collapse
No announcement yet.

Anodising

Collapse
X
 
  • Filter
  • Time
  • Show
Clear All
new posts

  • Anodising

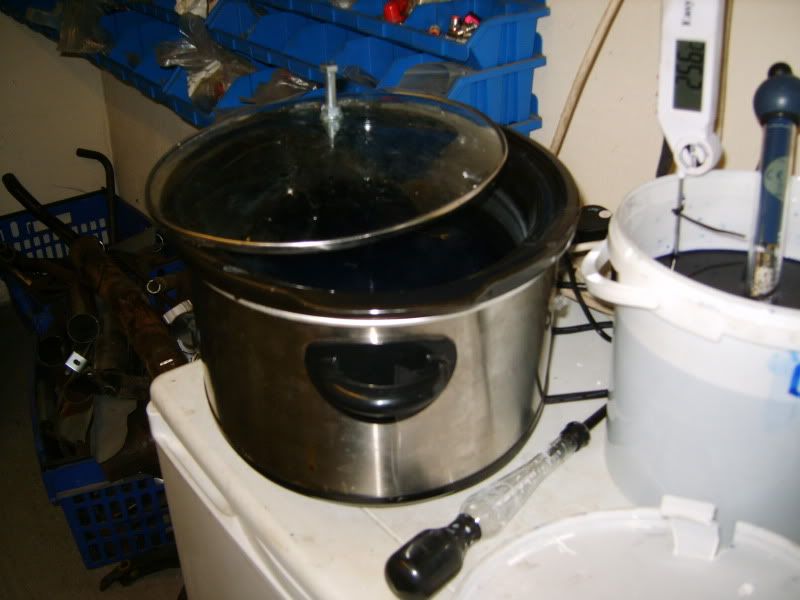
    After seeing some of the threads on here I thought I have a go at anodising so I made myself a little production line and this is the result...


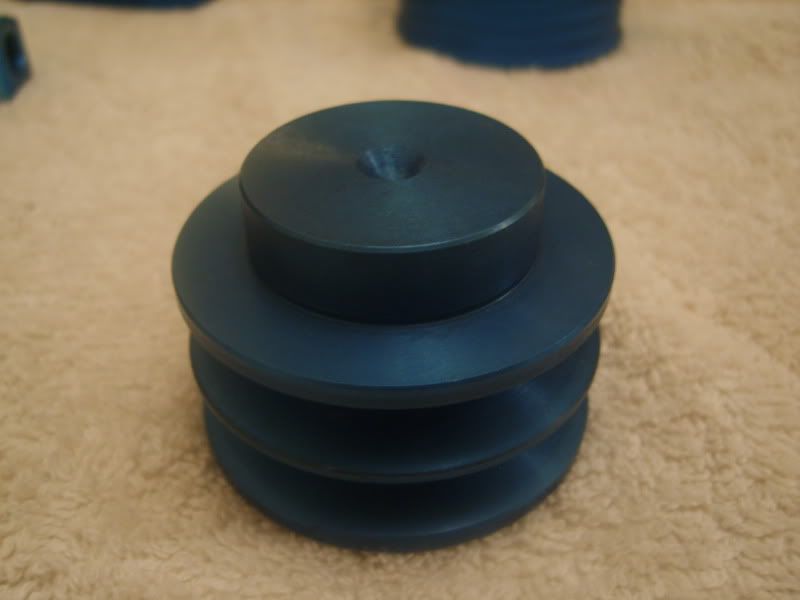
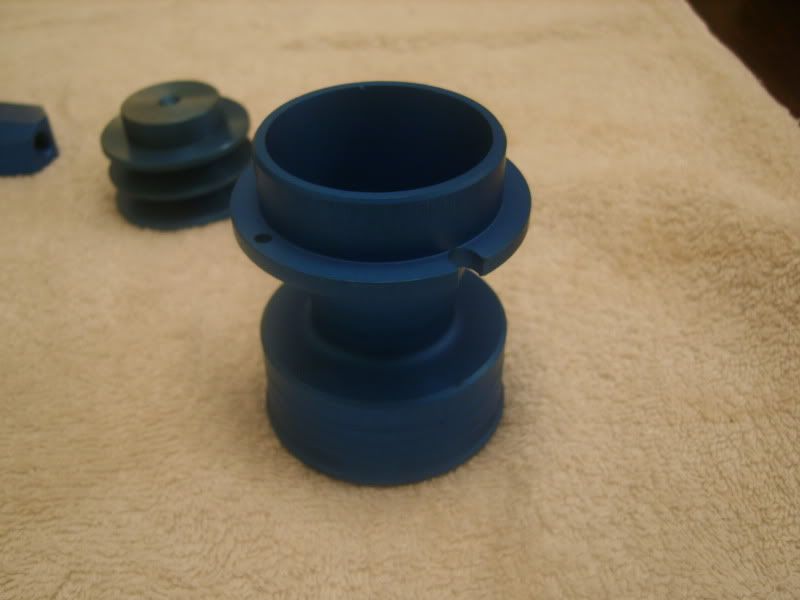
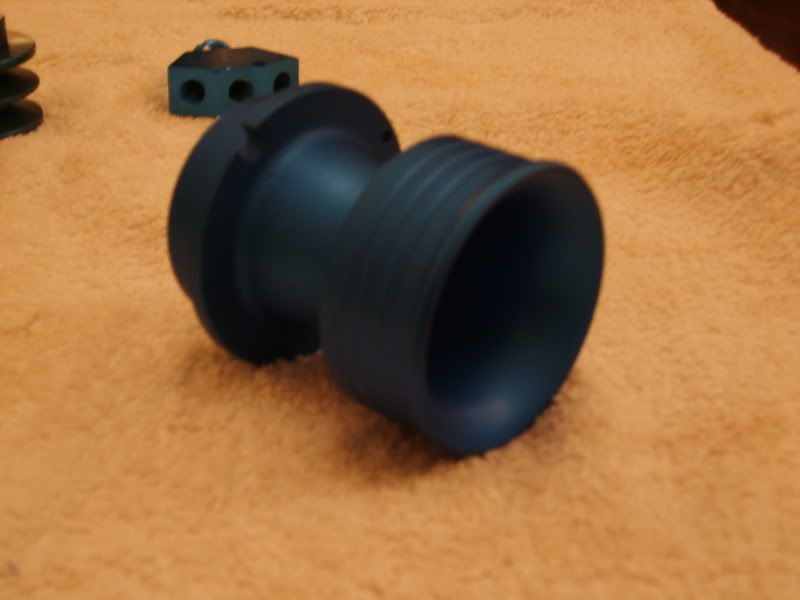
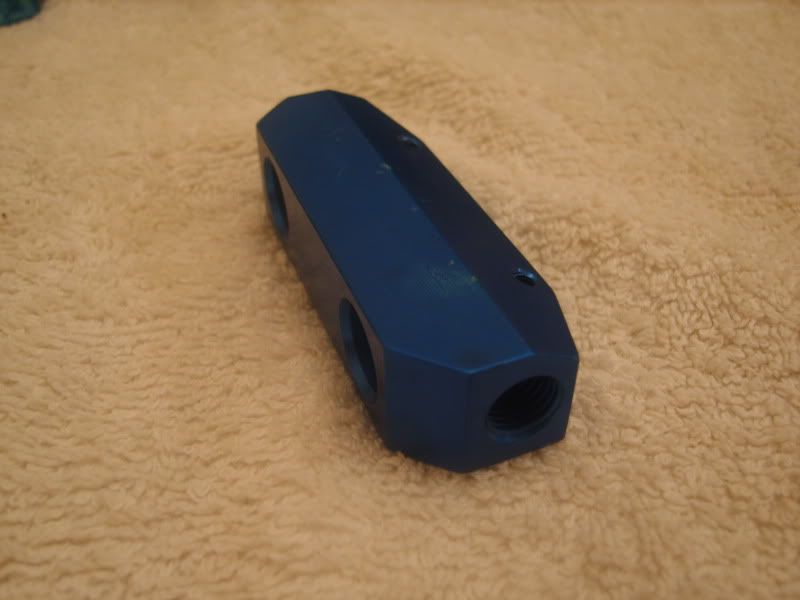
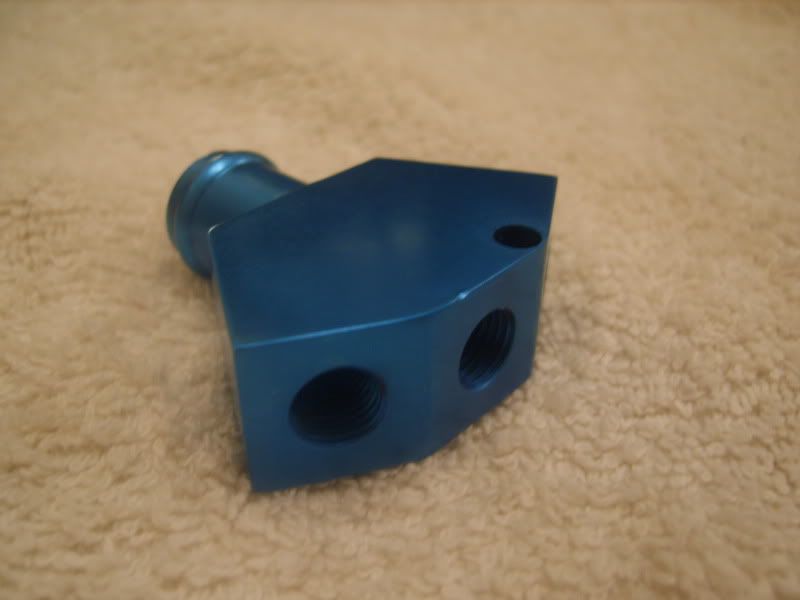
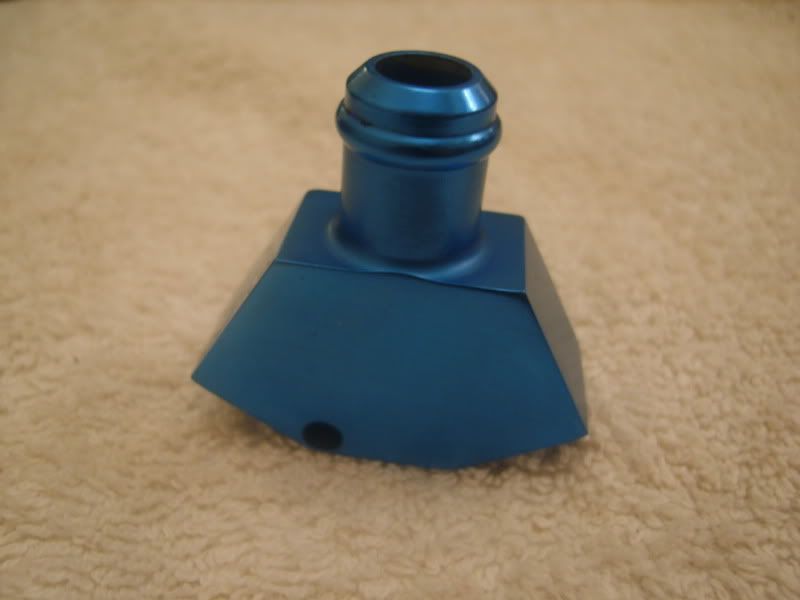
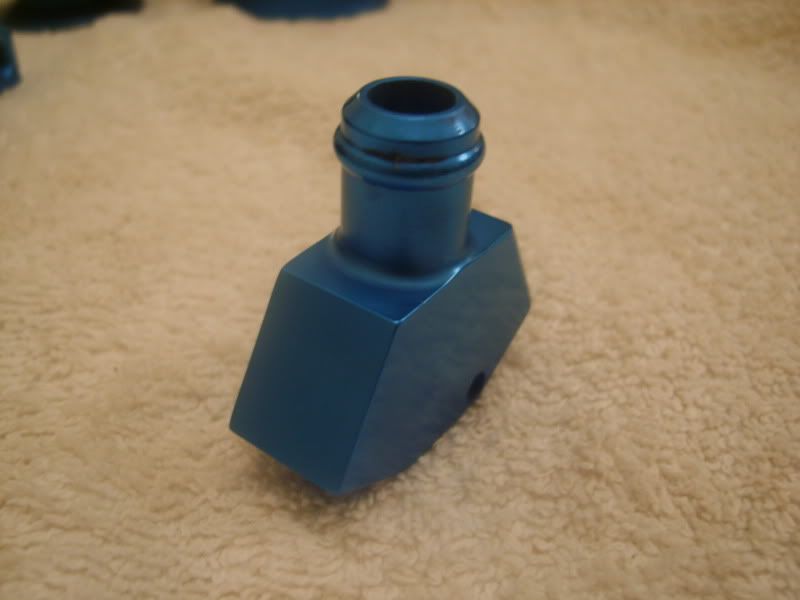
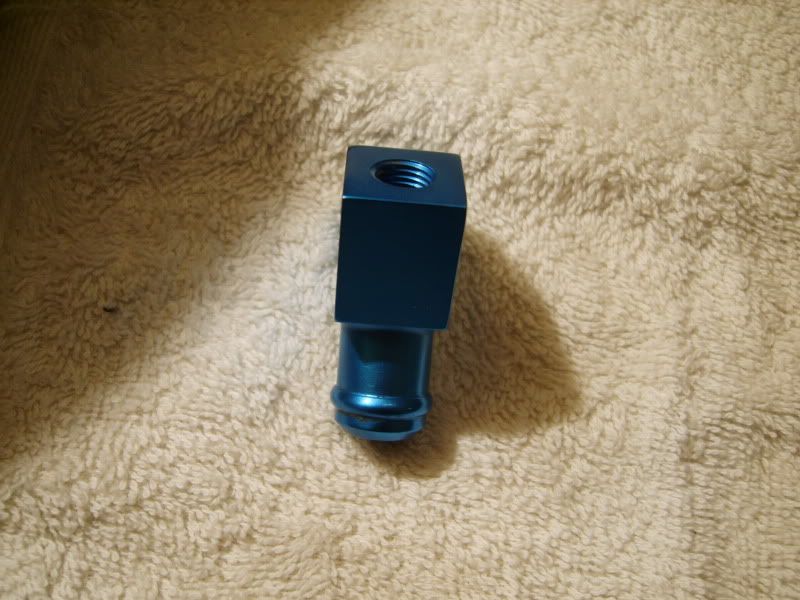
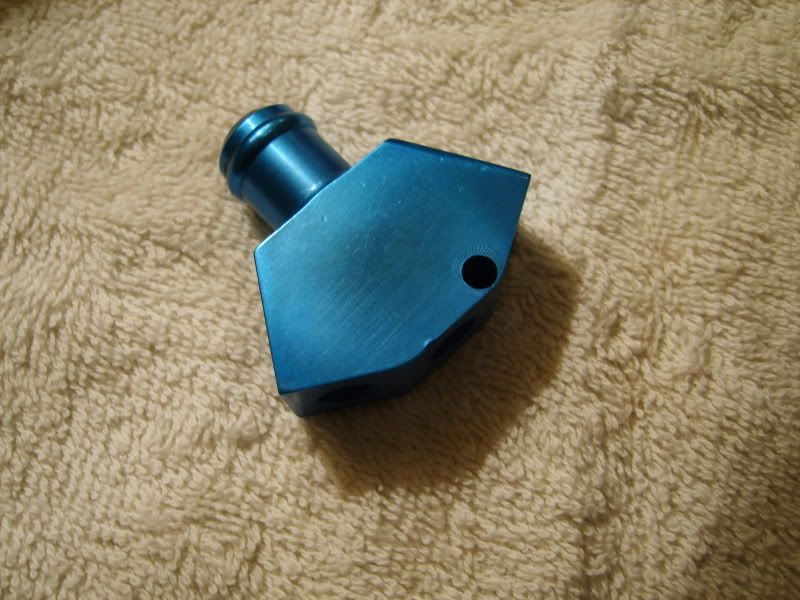
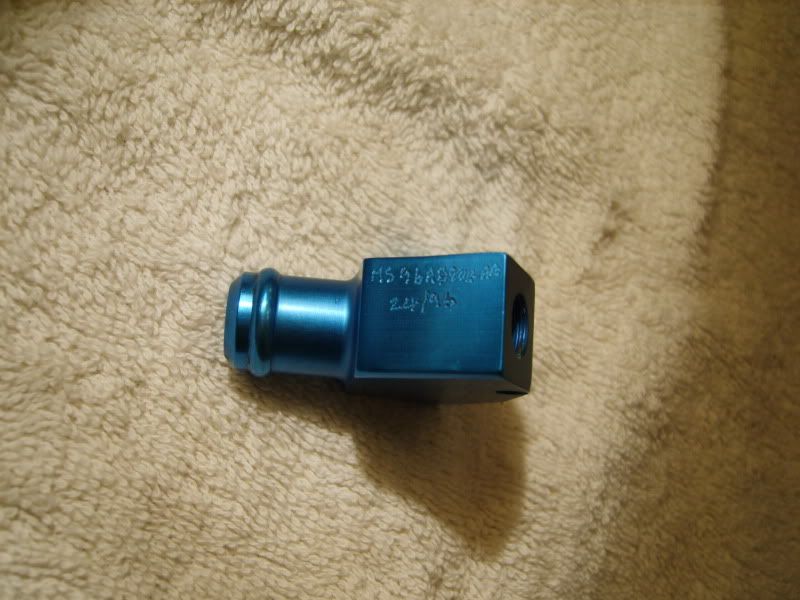
    Only got blue dye at the minute but I have some gold and red arriving this week...

    Some of the parts need to go back in, but overall i'm quite pleased...

    Ian

  • #2
    Nice work . Would be good to see the yellow/gold colour done . Where did you get the kit ?How easy is it to do it ? Do the parts have to be totally cleaned down ?

    Comment


    • #3
      Clean and shiny parts is the key, some of the early stuff we never de-greased and polished enough, made the kit from:
      • Battery Acid - Diluted to 20%
      • Aluminuim Sheet - to act as a cathode
      • De-min water
      • Caustic soda diluted into some de-min for etching/cleaning
      • Some ally welding rods - to hang parts with


      Just used a storage box for the acid bath, caustic in a large jug and an old slow cooker for the sealing process..

      Cost so far is about £30.00 including some dye off e-bay...

      Comment


      • #4
        that's superb Ian, and I bet most of us have those bits in the house

        Comment


        • #5
          whats the process of it?

          Comment


          • #6
            Originally posted by richyx View Post
            whats the process of it?

            +1 info on what is needed ian and how to do would be great

            Comment


            • #7
              Good work Ian

              Comment


              • #8
                Pics of the trial process items...lol...


                Battery Acid 37% acid


                or Drain Cleaner 91% acid so be careful...


                Only using a car battery and a charger, going to refine things this week....

                Ian

                Comment


                • #9
                  cool, can you explain the actual process, as in like a step by step inc what to use and when and why

                  Comment


                  • #10
                    Rich, step by step from the guide I got hold of...he uses a lead cathode but i've just used some aluminium sheet....

                    Mix up 10 to 20% Sulphuric Acid solution with pure distilled water. Enough to fill whatever container you are going to use about 2/3 full. Leave to cool. This mixture can be used many hundreds of times for anodizing runs. I t will eventually pick up impurities any become less effective. Remember, never add water to acid, always add acid to water so it doesn't fizz and bite back! Do not let any extra water, caustic soda, sodium bicarbonate or similiar near the acid bath.

                    Prepare your aluminium piece. Finish is everything - anodizing does not hide a poor finish. Clean it up with 1200 paper and maybe polish.

                    Cover your working area in something disposable. Make sure the bucket of sodium barcarbonate solution is handy for dipping things in. I suggest getting a big (ie several kilos) carton of bicarbonate from a catering suppler or cash and carry. If you do spill a serious amount of acid, its nice to have some alkali handy to neutralise it.

                    Fizz the aluminium in caustic soda solution until it looks a nice grey colour. If the aluminium is already anodized, it is possible to remove the anodized layer by leaving it in the caustic soda bath for longer. I've not read of the correct strength of the caustic soda bath for preparing the metal. An eggcup or two of caustic soda granules in a pint of warm water works for me.

                    If you have some desmut in nitric acid to clean of the other metals, then wash off the part once more with lots of water. Without nitric acid, just try to clean up the part as best you can with hot soapy water and then rinse.

                    Suspend the aluminium part in the acid so it is completely immersed using some kind of aluminium wire or aluminium strut. T he only metals allowed in the bath are aluminium and lead (if you use a lead cathode). Make sure you get a good electrical connection. Bear in mind that any parts where the suspending wire touches the part it will not be anodized, and will not take up the dye. Twist a bit of wire into a tapped hole or something.

                    Make sure that you don't touch the part. Grease from finger prints can leave a mark on the finished item. Get some good gloves.

                    Place a cathode in the bath. This should have a surface area of at least twice that of the aluminium part.

                    Don't let it touch the aluminium part at the anode.

                    Attach the positive connection of your power supply to the aluminium anode and the negative connection to the cathode.

                    Run the power at 12 volts for about 45 minutes. The cathode will fizz a lot, the anode will also show some small bubbles. The acid will heat up. If you are not sure its working, use an ammeter to see whats going on. You should not allow the acid to become warm - ideally it wants to stay at 20C. Let the acid cool between anodizing runs, or rig up a cooler. Remember only lead or aluminium in the tank. Even a fan blowing on the tank helps. If you think about it, 12v at, say 2 amps, acts like a 24 watt header, and thats before the heat created by the reaction.

                    There is a lot of words written about what current to anodize with. Apparently you are supposed to anodize at between 4 and 12 amps per square foot of anode surface area. With most parts its almost impossible to estimate the surface area.

                    After etching in the caustic soda, you'll throw your calculations out even further. For my purposes I just run the whole thing at 12 volts and let it draw as much current.

                    Remove aluminium part from the acid and wash in distilled water. Try not to drip acid from the part over the kitchen whilst moving to the water. If you must walk around the house with bits of aluminium covered in acid, hold a bowl of bicarbonate underneath.

                    Dip the part in the chosen dye for between 1 and 15 minutes depending on how much colour you want. Heating the dye will increase the speed of colour uptake, however no hotter than 50C or you will start to seal the layer. Experiment is the key! The dye mix can be used over and over again. Keep the dye mix out of sunlight.


                    Boil the part in distilled water for 30 minutes to seal the surface. Some of the dye will leak out into the water before the surface is sealed, but its not too much of a problem. You might want to hold the part in hot steam for a while before you put it in the water. Start the water at about 95C and bring it to a simmering boil over the course of a few minutes. You can buy anodizing sealers to add to the water, but I've not needed this. I have an unconfirmed suspicion that commerical anodizing dyes need a special sealer.

                    Give it a good rub with a very soft white cloth. Sometimes a get a bit of colour coming off the sealed part, but this stops after a few moments rubbing. I find a good long boil reduces this problem.

                    Comment


                    • #11
                      well done m8 and thank you

                      Comment


                      • #12
                        i can see sibbo chucking this little lot in the back of a van and making a time machine back to the future

                        i bet if you put this on pf someone would have a go and blow there fookin mums kitchen up

                        Comment


                        • #13
                          I did consider putting it on PF Karl but the H.S.E would hunt me down.....lol.....you not a delorean stashed in a dodgy container somewhere in scouseland have you pal....

                          Comment


                          • #14
                            No Deloreans matey but i can supply a mint old Ford Granada

                            Comment


                            • #15
                              top man thanks for the explanation

                              Comment

                              Working...
                              X